5 Galapagos Photography Tips: How to Capture Great Underwater Images
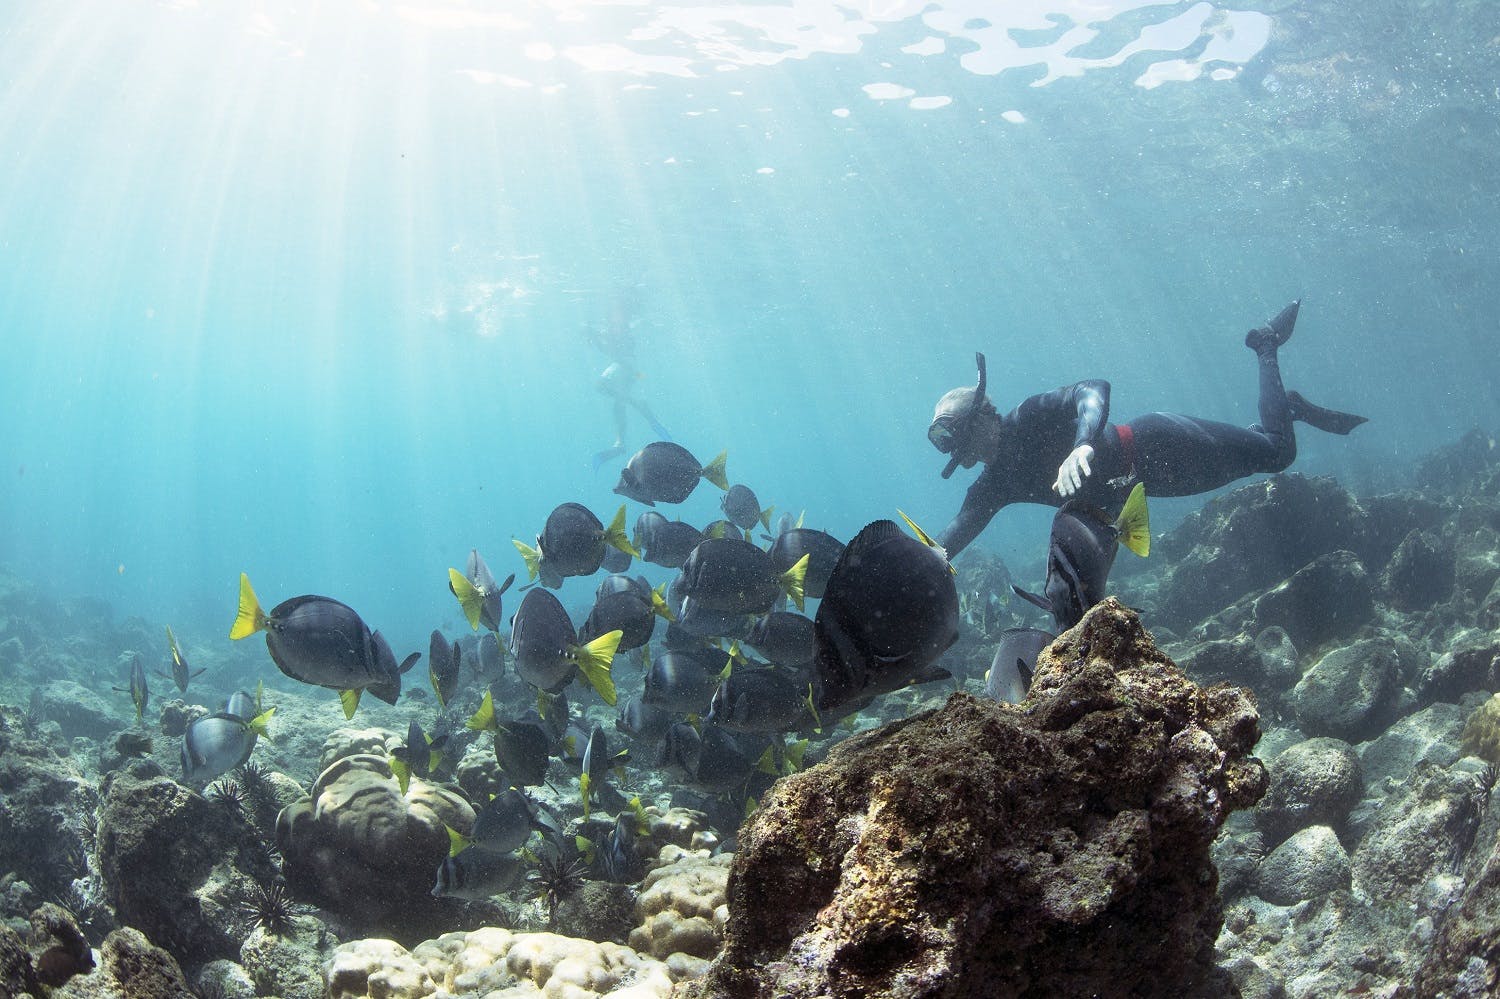
English-Italian surfer and photographer Lucia Griggi spends much of her life in the ocean, photographing surfers and other creatures of the sea. One of her favorite destinations is the Galapagos Islands where she has taken stunning images of wildlife—such as friendly sea lions, cheeky penguins, graceful sea turtles and thousands of colorful fish—both above and below the waves.
This Pacific archipelago is a photographer’s dream destination. “On land, the Galapagos wildlife is amazing. And underwater, it’s just as vibrant,” Griggi says. This expert travel photographer has plenty of suggestions for best practices on Galapagos snorkeling photography experiences. Here are her top photography tips when shooting underwater.
1. Study the Galapagos’ Marine Life Before You Go
You’ll undoubtedly be a better underwater photographer if you understand what you’re looking at when you get to the Galapagos. It’s also a good idea to read about marine behavior and perhaps watch some documentaries about the marine animals you may encounter. Then you’ll know what to expect and how to behave in the presence of these extraordinary creatures. Griggi observes how quickly they’re swimming, and in which direction, to try to anticipate their next move. Engage in your camera’s lens and your swim fins to ensure you are well positioned.
“It’s important to approach the Galapagos’ wildlife slowly and cautiously and only photograph the animals from a safe distance, so they don’t feel threatened,” Griggi adds. “Monitor the behavior of your subject to see how they are around you, and retreat if they seem uncomfortable.”
Some of the archipelago’s most spectacular undersea animals, which are rarer to spot—like the whale shark, schools of manta rays, Galapagos sharks and hammerhead sharks—are also the most difficult to photograph. While the sea teems with life below the surface, Griggi believes it’s better to experience and enjoy the trip rather than fixate on a list of shots you want to get.
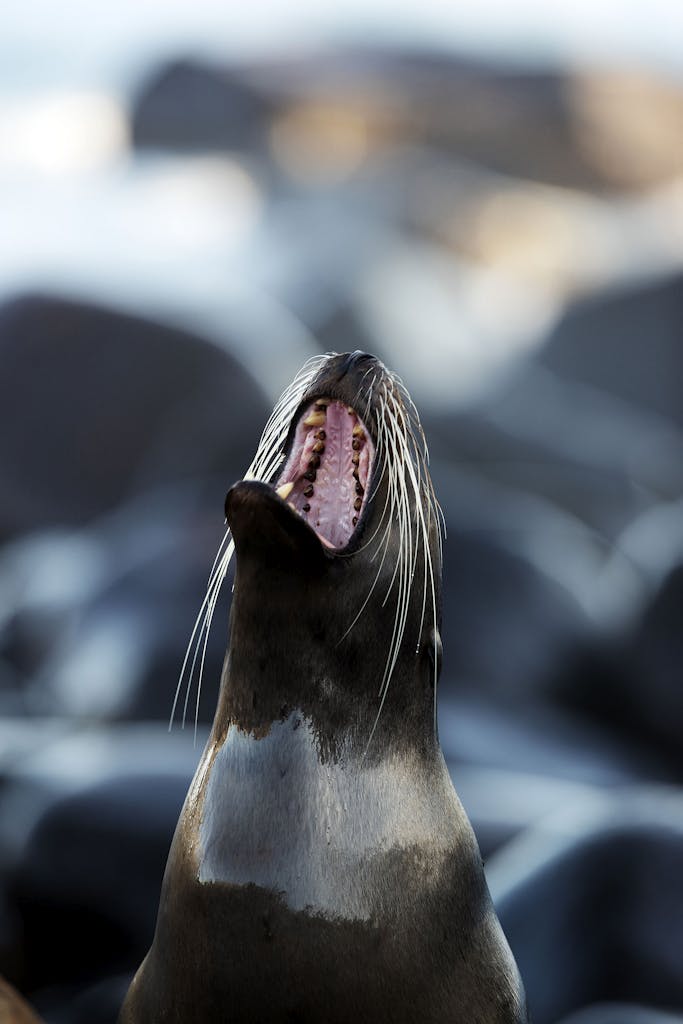
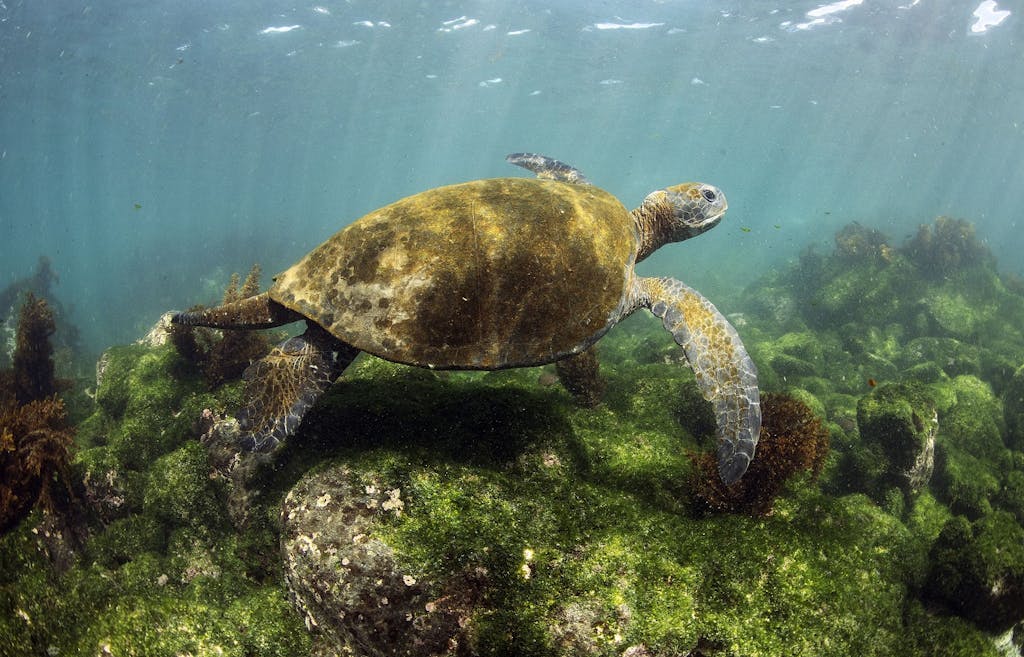
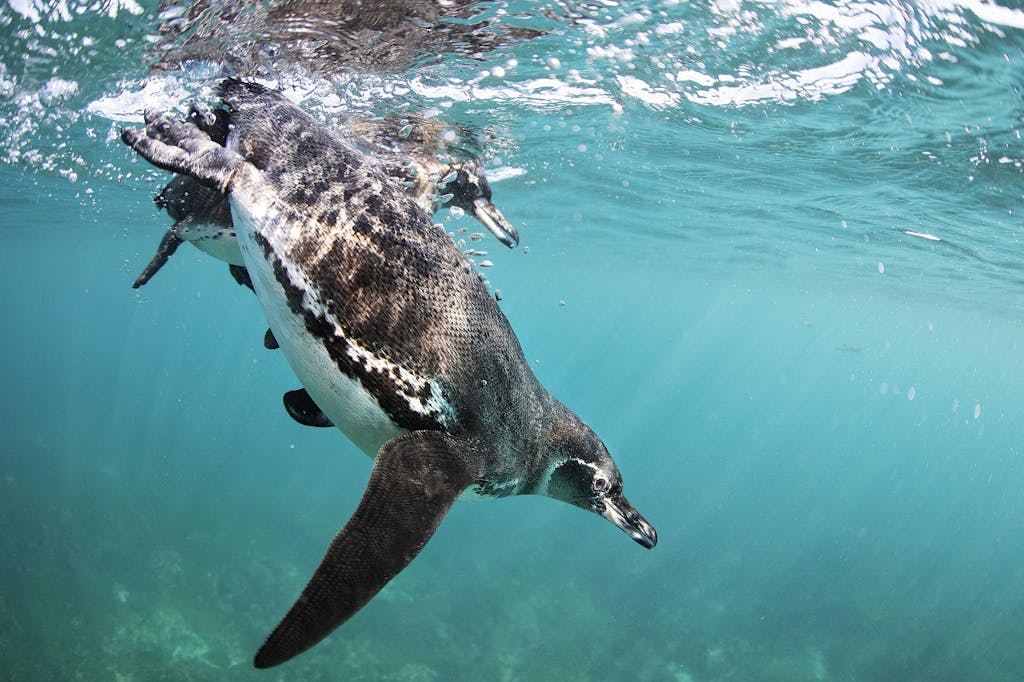
“You may not have the chance to get the photo you want, because it can be quite challenging to be in the right place at the right time,” she says. “While discovering the region aboard a Zodiac from a Galapagos cruise, the penguins were curious and came up and danced around me, while the turtles would move slowly by, they were quite unbothered about having people nearby. The sea lions are also curious but are also very fast, so it wasn’t always easy to get them in the frame.”
2. Try Using Your Smartphone as an Underwater Camera
There’s no need to buy costly gear for your trip. Even without a high-end SLR camera, you can take spectacular shots with your smartphone while snorkeling in this undersea world. Many models are now waterproof, but extended exposure to saltwater, waves and currents and the pressure of depth can push these devices beyond their limits.
There’s a wide range of waterproofing devices available for smartphones. Phone cases such as Lifeproof offer underwater protection to fit most popular models. But there are also complex housing systems with added lenses and color balance apps like Lenzo.
Expensive phone housing cases are one way to overcome a significant challenge when using smartphones underwater. Touchscreen controls become unusable under constant and growing pressure as you descend underwater.
Some snorkeling smartphone photographers use cases that allow a side button to be repurposed as the camera shutter button. Others set their phones to video before entering the water, securing the device to a pocket or belt and capturing the whole event. Later, they extract still shots or short highlight videos during the editing process.
3. Don’t Overlook a Point-and-Shoot Camera with Accessories
Hardy point-and-shoot cameras are also available across a wide range of price points. The tiny, robust GoPro is a favorite with amateur underwater photographers, but there are plenty of other options for those wanting to keep it simple. One example is the specialty underwater point-and-shoot PARALENZ which uses auto-depth color correction filters to remove the blue tinge and light loss of underwater shooting.
Whichever camera you choose, make sure it returns to shore with you. Jostling through currents and waves with a wet slippery camera is a recipe for disaster if you’re unprepared. Floatable attachments can ensure your camera or phone will bob to the surface rather than disappear below the ocean floor if dropped. Mini tripods such as the Gorillapod or octopod used with point-and-shoot cameras and smartphones on land can also make excellent small hand-grips to steady an underwater shot.
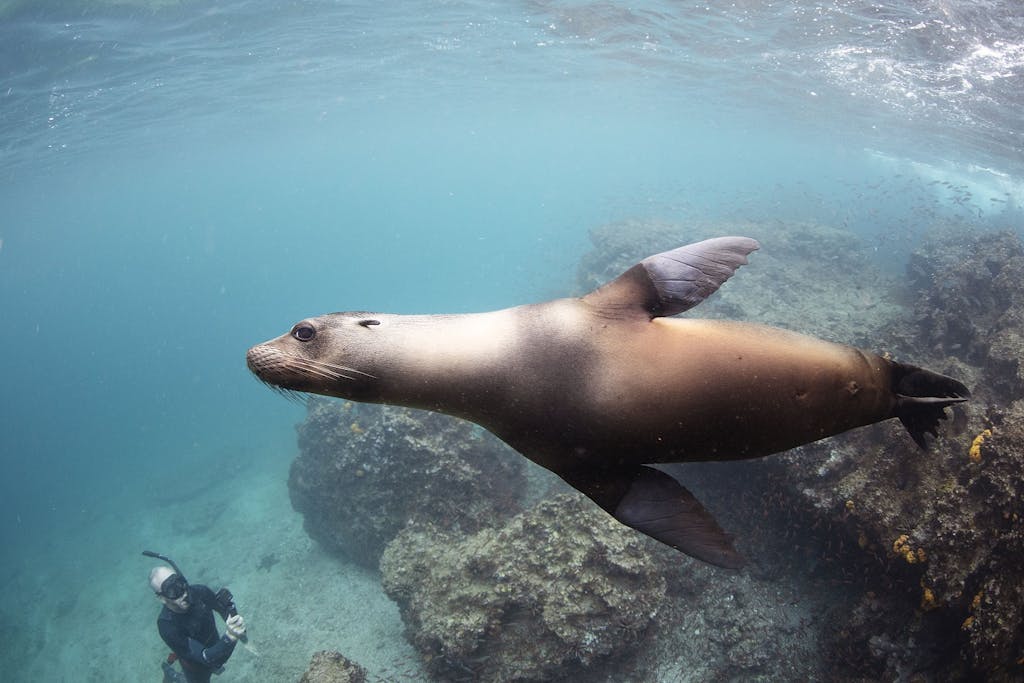
4. Shoot in RAW Format for More Editing Control
Although you can take some surprisingly good images using a simple camera, there are of course advantages to using a setup like Griggi’s.
Shooting with a professional camera with a waterproof housing will give you more control over the processing and editing of your images in post-production. “There are often lots of nutrients around, and that affects water clarity with ‘backscatter,’ the material between the lens and the subject,” says Griggi.” You can take some of the backscatter out in post-production,” she says.
“When photographing marine life in the Galapagos, I shoot in an uncompressed RAW format,” she explains. “It allows me to do a lot more when I work on the image than you could do with a JPEG file format.” As light waves pass through water, red hues are the first to disappear, followed by orange and then yellow. Green and blue lightwaves penetrate much further underwater – which is why most underwater vision and photography is tinged with these colors.
“In post-production, adding more magenta to the image will even out the colors, bringing them back to neutral and reducing that blue-green tinge,” Griggi says. In the Galapagos, Griggi used her beloved Canon 5D Mark IV inside an AquaTech water housing and chose a 14 mm lens for most shots. She prefers a fixed wide lens, as zooms add another dimension of difficulty in an oft-challenging environment.
“The 5D is a lighter camera to carry than some others, which makes a difference when you’re holding it in the water for a while,” she says.
Another useful bit of gear was a dome port, she says. The acrylic dome can be matched to the housing, letting you take split shots above and below the waterline.
“The dome is great in the Galapagos, because above the water are these beautiful landscapes around you, and below you have the wildlife,” Griggi says. “Also, the animals were quite drawn to their own reflections, which they could see in the dome, particularly the penguins – they were so funny.”
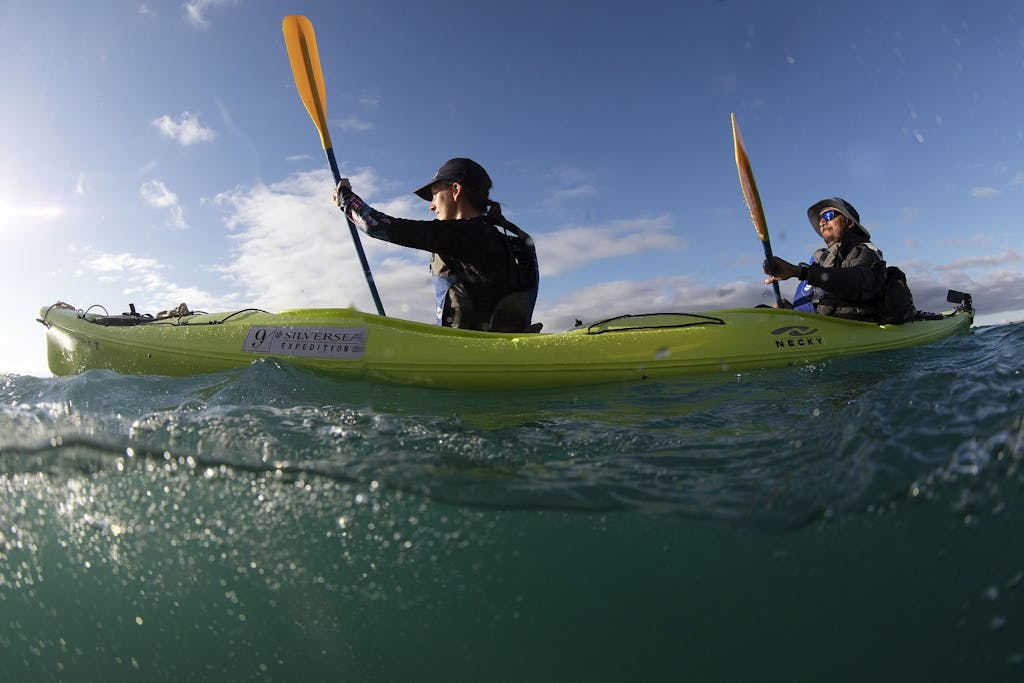
5. Only Snorkel in Places That Suit Your Ability, Experience and Equipment
In these pristine tropical seas, snorkellers benefit from the light and color of shallow outcrops, and the best spots to snorkel and photograph marine life will vary over the year. “Some areas—like Darwin Bay, a former volcanic crater now flooded by the sea, off the coast of Genovesa Island—are home to corals and schools of vibrant reef fish,” says Griggi. “Others, like the coves and sea cave below the cliffs of Punta Vicente Roca of Isabela Island, sustain scores of eagle rays, Galapagos sea lions, Galapagos Penguins, and schools of small tuna.
For safety’s sake, stick to a location befitting your experience and ability as an ocean swimmer and snorkeller. Griggi wore a 3mm wetsuit, fins and a snorkeling weight belt so she could freedive to follow marine life below the surface. Without a wetsuit, your body temperature will drop when snorkeling for more than a few minutes, particularly from June to December, as the chilly Humboldt Current brings cold water to the islands.
Taking photos of marine life under the seas around the Galapagos Islands is such a rewarding thing to do. With a little planning and a lot of luck, you may come home with a stunning image you shot yourself, a remarkable souvenir of an extraordinary place.
On a roll? Learn about sustainability in the Galapagos.

